7 Travel Photography Tips & Tricks with Examples
Ok, guys. Travel photography. What’s happened? Instagram is being flooded with the same kind of travel photos, all with the exact same look and colors. Everybody seems to copy the same style and travel photography techniques just to get more followers. Let’s try to change that again. I want to see travel photographers with their own style again because honestly, it’s getting boring.
To start, I’ll share you some of my travel photography tips and tricks. Not to get more followers on Instagram but to make travel photography interesting again. Just be aware that the travel photography techniques and examples here come from my own experiences and show you how I work and make a living as a traveling photographer. All images are my own pictures from travels all over the world.

Improve your travel photography with portraits. Kenge, Democratic Republic of Congo.
I also know that the title says ‘Travel Photography’ but of course you can apply my advice to street photography or portrait and other styles. They all merge into each other anyway. If you like what you see on this blog or in my portfolio then these photography tips are for you. If not, well, just read it and maybe you’ll find something useful or want to add something.
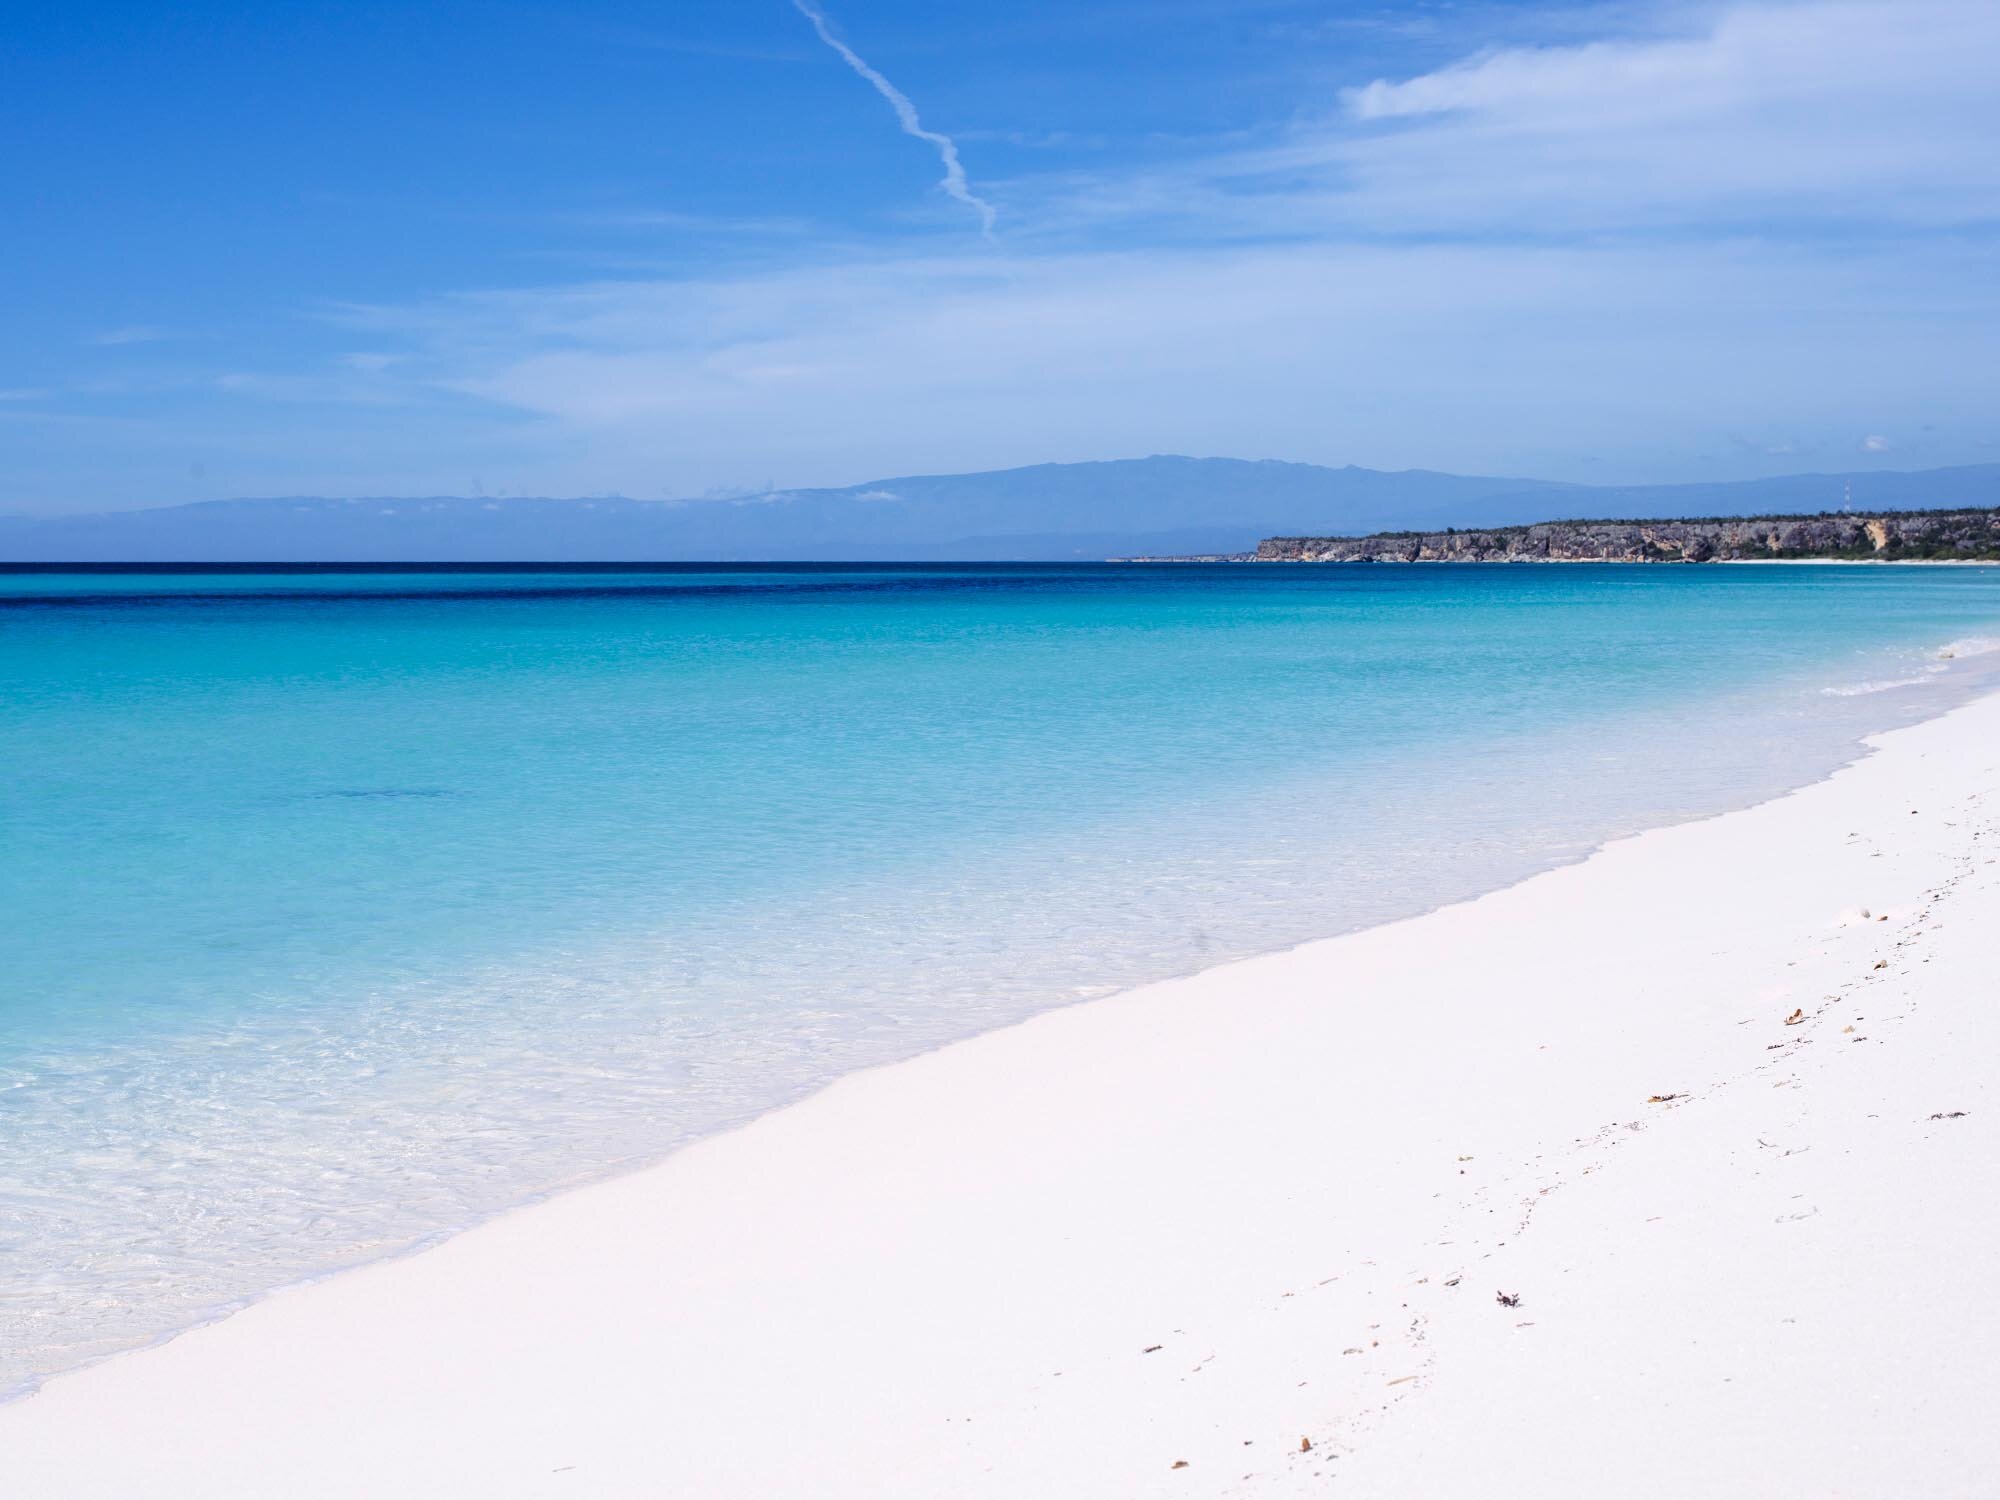
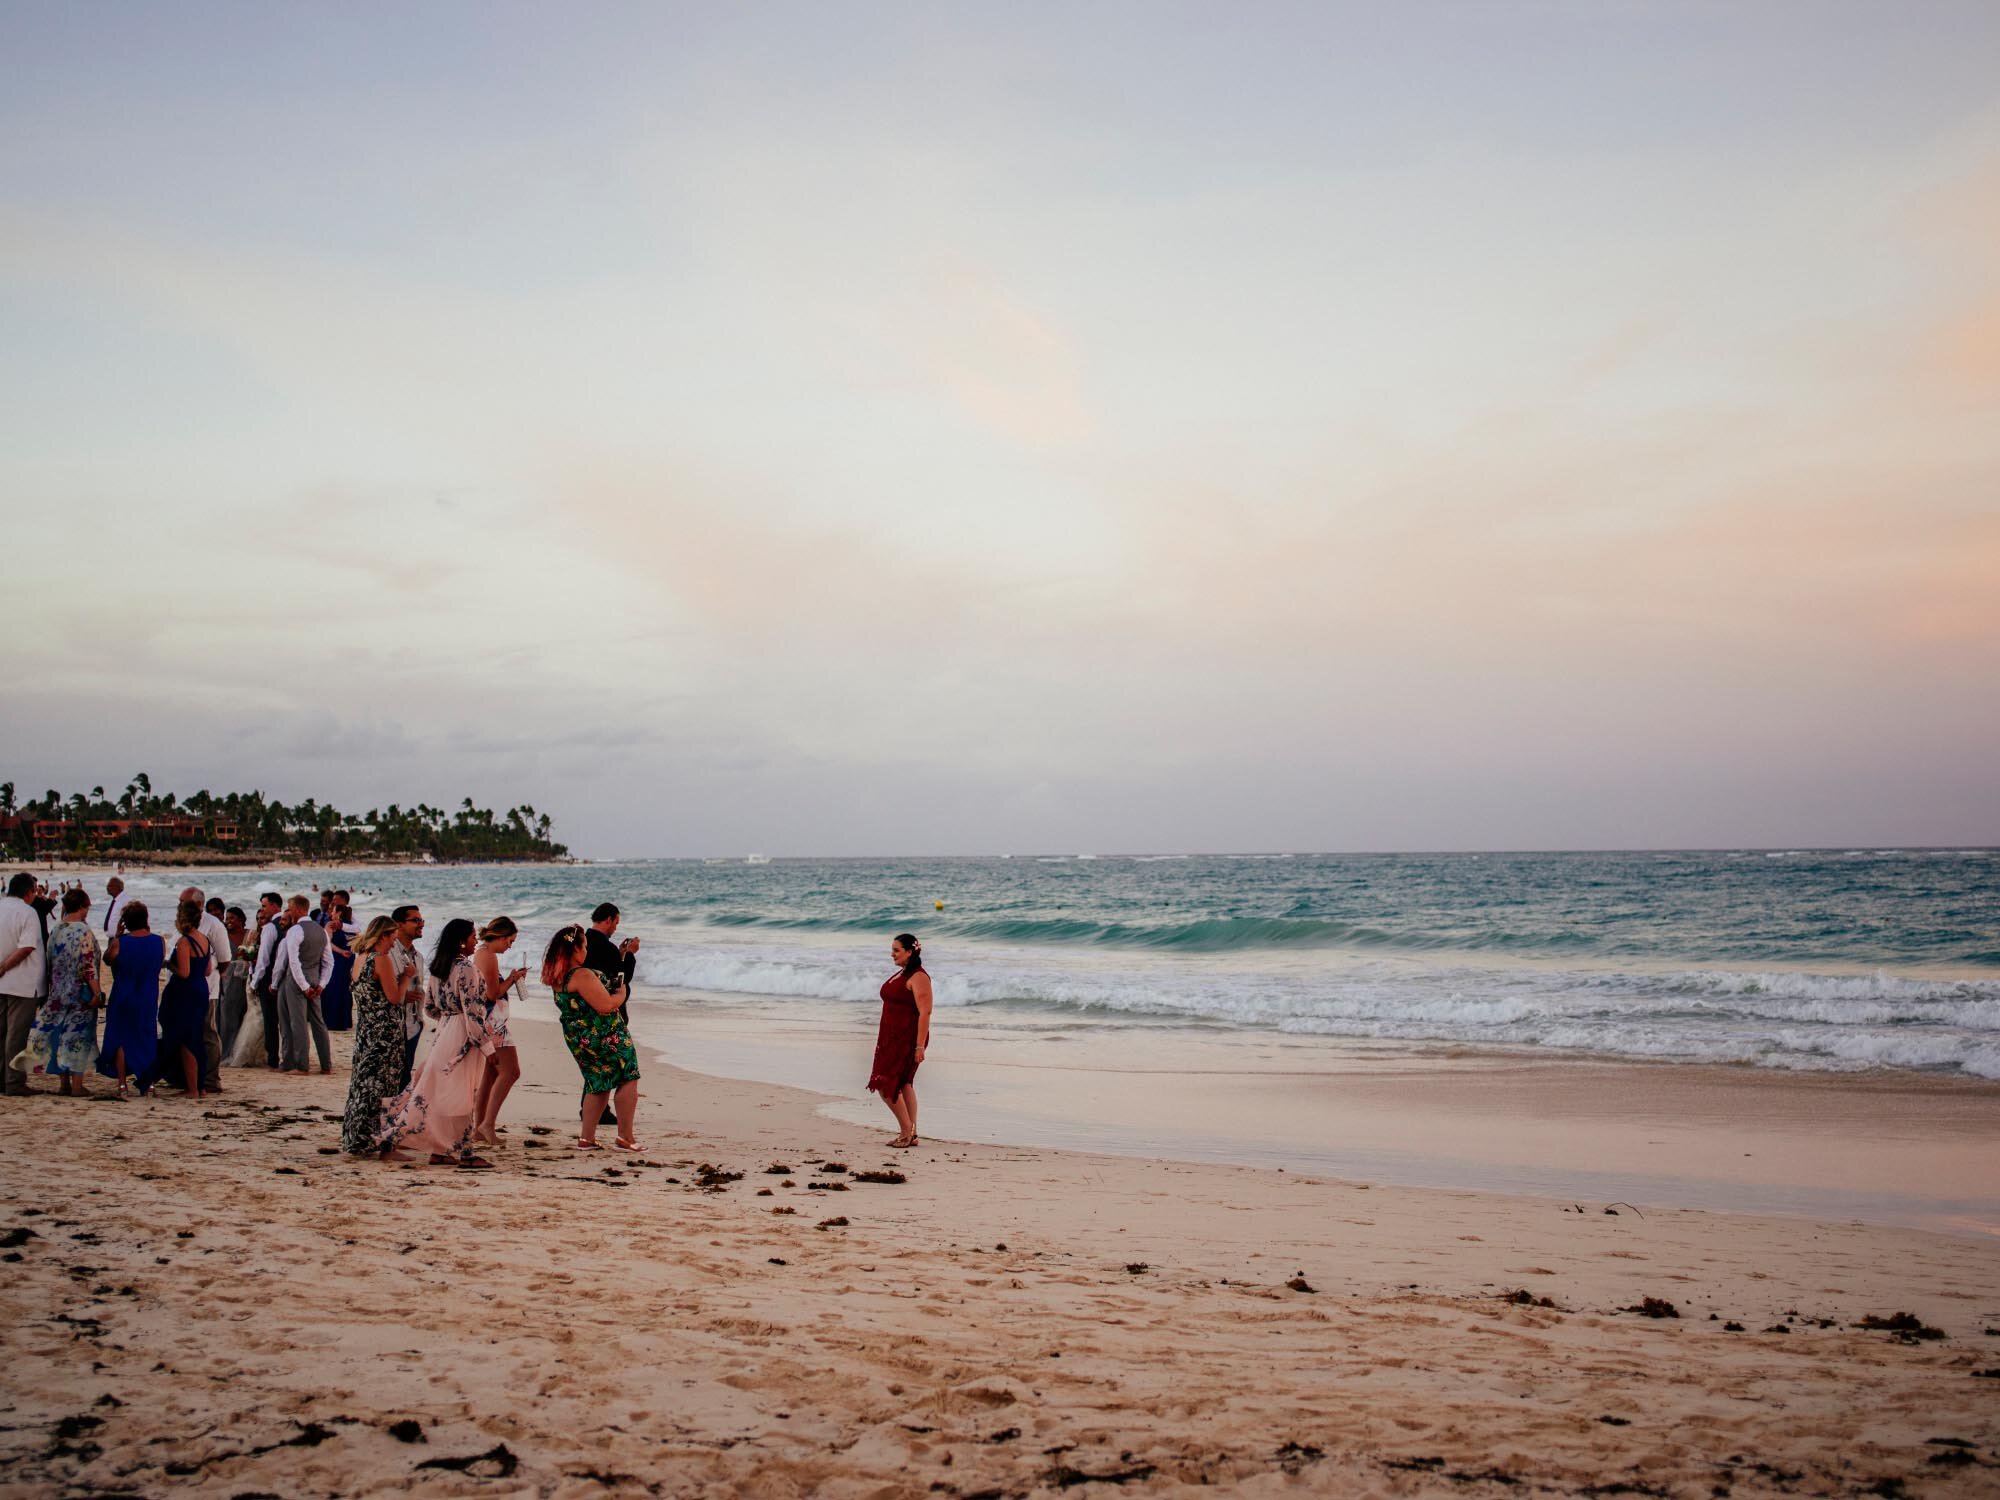
The most common travel photography example. A nice beach. Bahia de las Aguilas, Dominican Republic.
Everyone photographer has their own style, beliefs and habits. That's why photography discussion forums are so popular but for the most part, there is no right or wrong (Well, of course there is for some aspects but you know what I mean...) Even as a professional photographer I still learn new travel photography techniques every day and there are tons of good travel photography examples on the web to learn from! And I’m talking about people like Steve McCurry or Corey Arnold. So, travel photography mixed with photojournalism.
If you want me to add something in the end or if you have questions about my examples, just ask me in the comments or join TWAOU² on Patreon for behind-the-scenes information and we’ll talk about it.
These are my favorite travel photography tips and techniques with examples that will help to improve your pictures...:
In this article: The Camera • The Lens • Where to go • When to shoot • People & Portrait • Make a story • Post process • Conclusion
1. The best camera for travel photography
Always a good one to start with. Here it is. There's no such thing! Boom. I said it. Yup, that's right. It doesn’t really matter what camera you have. You can make awesome travel pictures with basically any camera. It just depends on your personal style and the purpose of your pictures. After all, your camera isn't going to compose the shot.
Here's my list of travel photography gear.
If you like to make quick snapshots, your favorite travel camera can be a mobile phone or a compact camera. That being said, I like street photography with my big and bulky medium format camera but that's because my style is not fast and snappy. I have a slower style. There’s no rule on what you should or should not use, really.
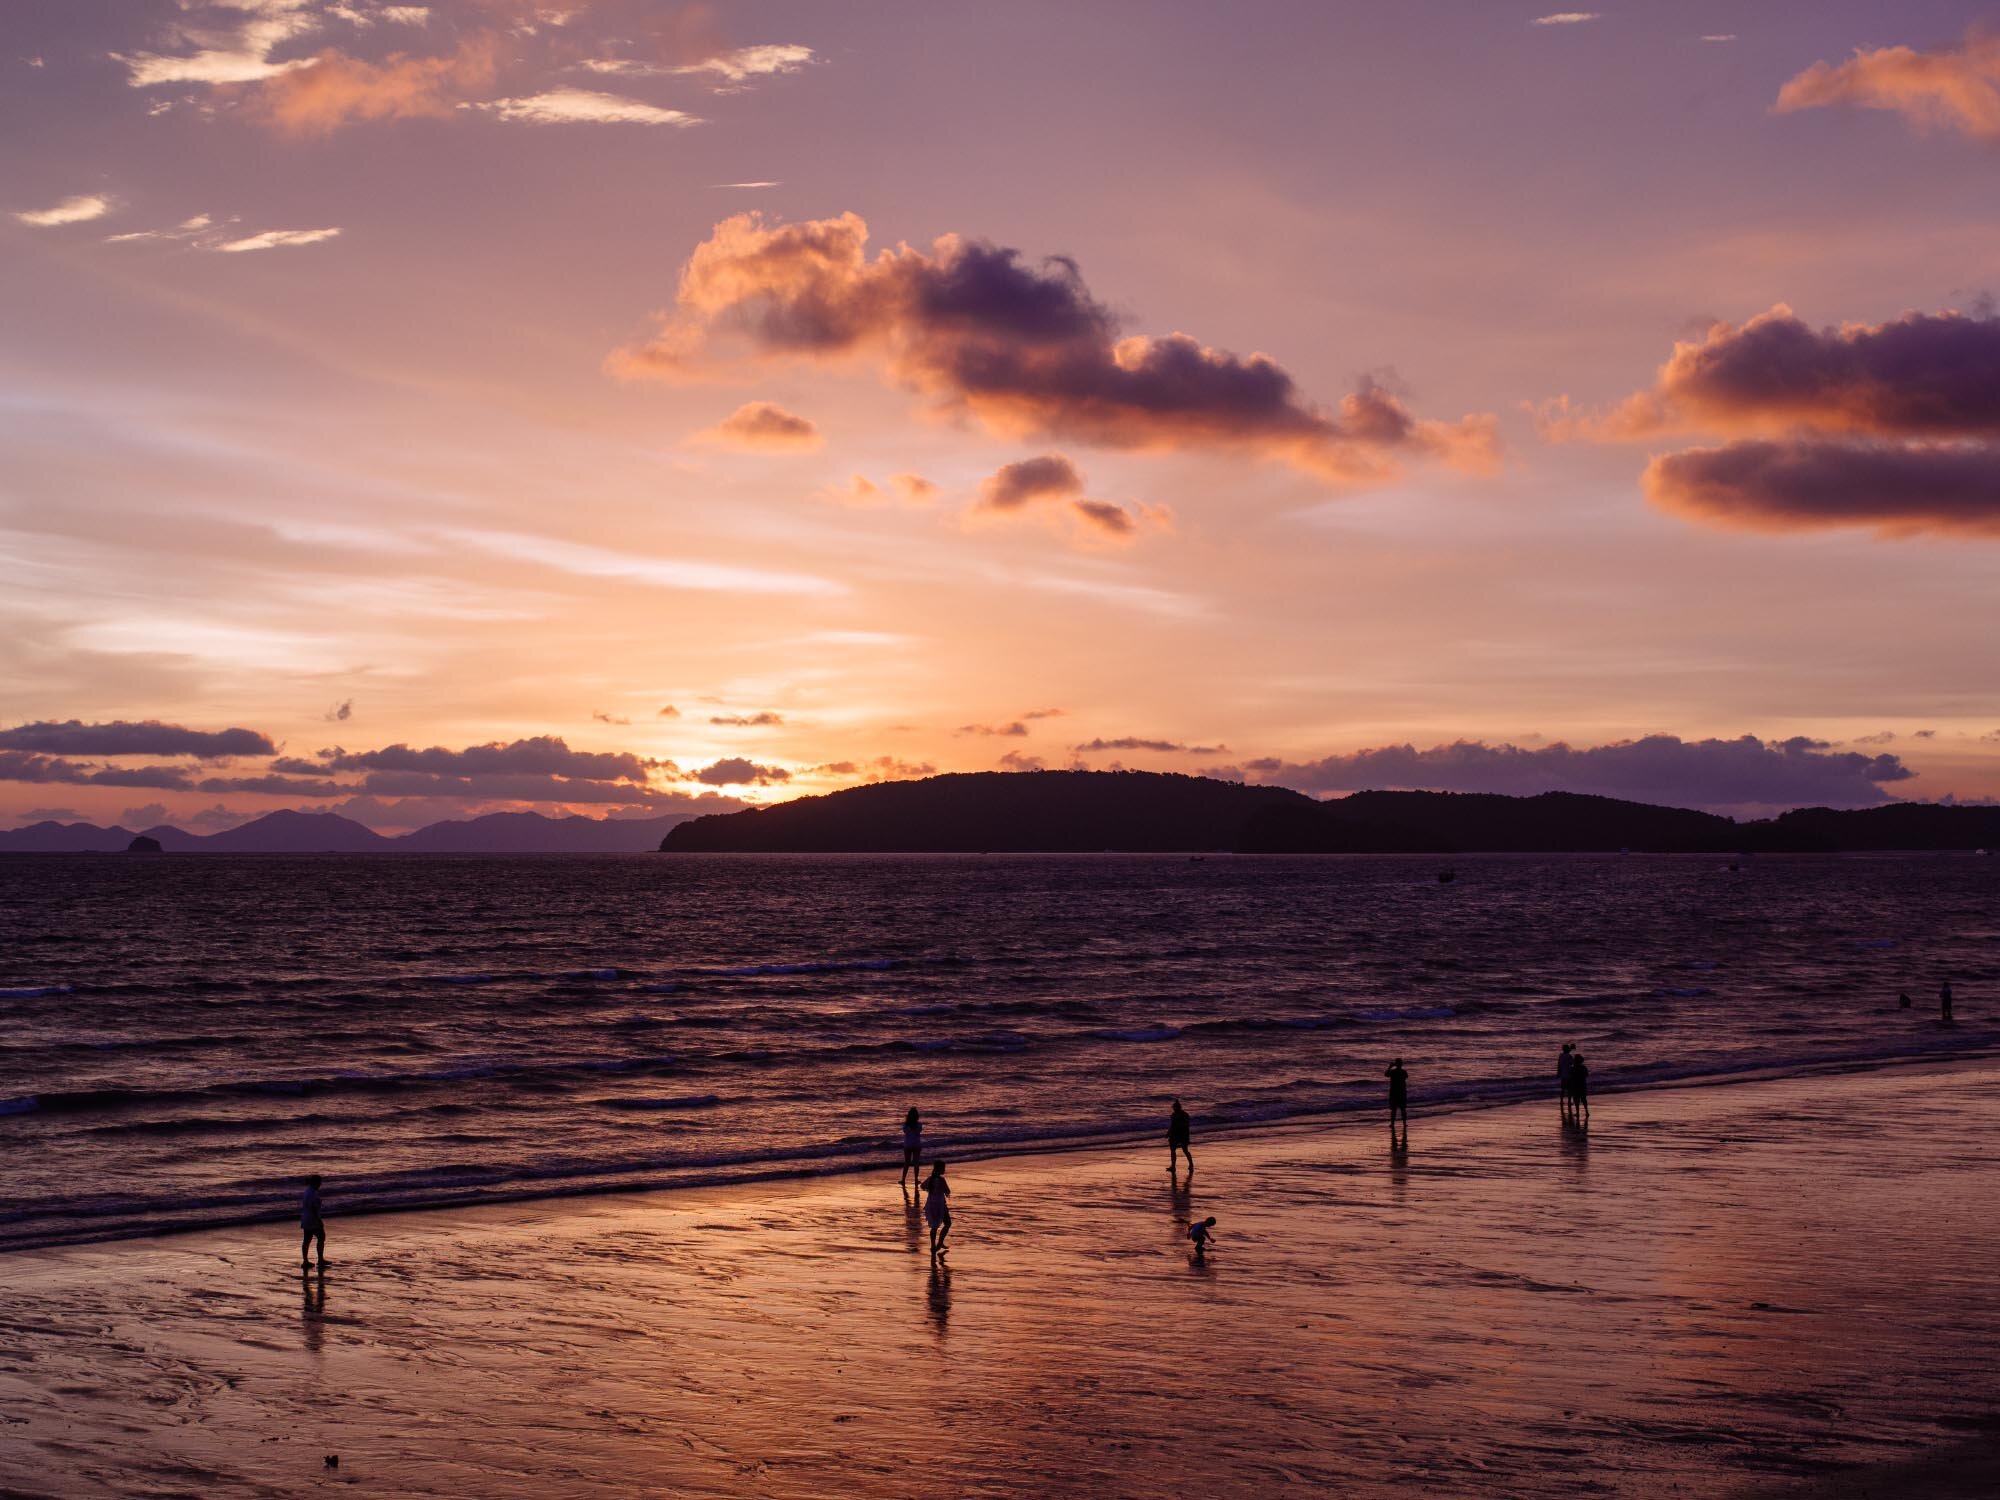
Medium format. Ao Nang, Thailand
If you like to take your time like me or just shoot landscapes, then do so and use a tripod if you want. Wait for that perfect moment or light. For one photographer travel photography means landscapes, for another it means close portraits or fast street shots.
One important specification I always keep in mind, no matter what shooting style you have, is megapixels. If you want to make large prints —and I encourage you to do so— then you need the megapixels and preferably RAW files to work with. You don’t want to have pictures that look awesome but don’t have the resolution to look beautiful when you want to make a large print.

Iphone 6 photo. Khao Sok, Thailand.
Take the iPhone picture above for example; on screen it looks fine and also a small print will look nice but for a large print you'll need more information in your files to work with. Here's a good article if you want to learn the details about resolution.
To find the best camera for travel photography you'll have to find out your style and buy a camera based on that style of shooting. Once you know your style, ask yourself what you want to do with your travel photos. Just show them to your friends and family or make large prints?
2. The lens
This is a more important piece of equipment for developing a personal style than the camera. If you really want to improve your travel photography by buying some gear then start with lens.
I only use primes and my favorite lens for travel? A 50mm or 35mm. I’ve never used a zoom lens in my life and that, for a large part, crafted my style to what it is now. It makes me think about a shot and demands some creativity now and then where a zoom lens would give me an easy solution. Sometimes using a prime is even downright dangerous when you see the perfect photo but you need to cross a busy street and you do it without thinking straight but hey, dedication, right?
And don't think that using only one prime isn't versatile enough! To give you an example. Both pictures below are made with the same combo: A Canon 5D 3 + a Sigma 35mm 1.4. Pretty versatile I'd say, no...?
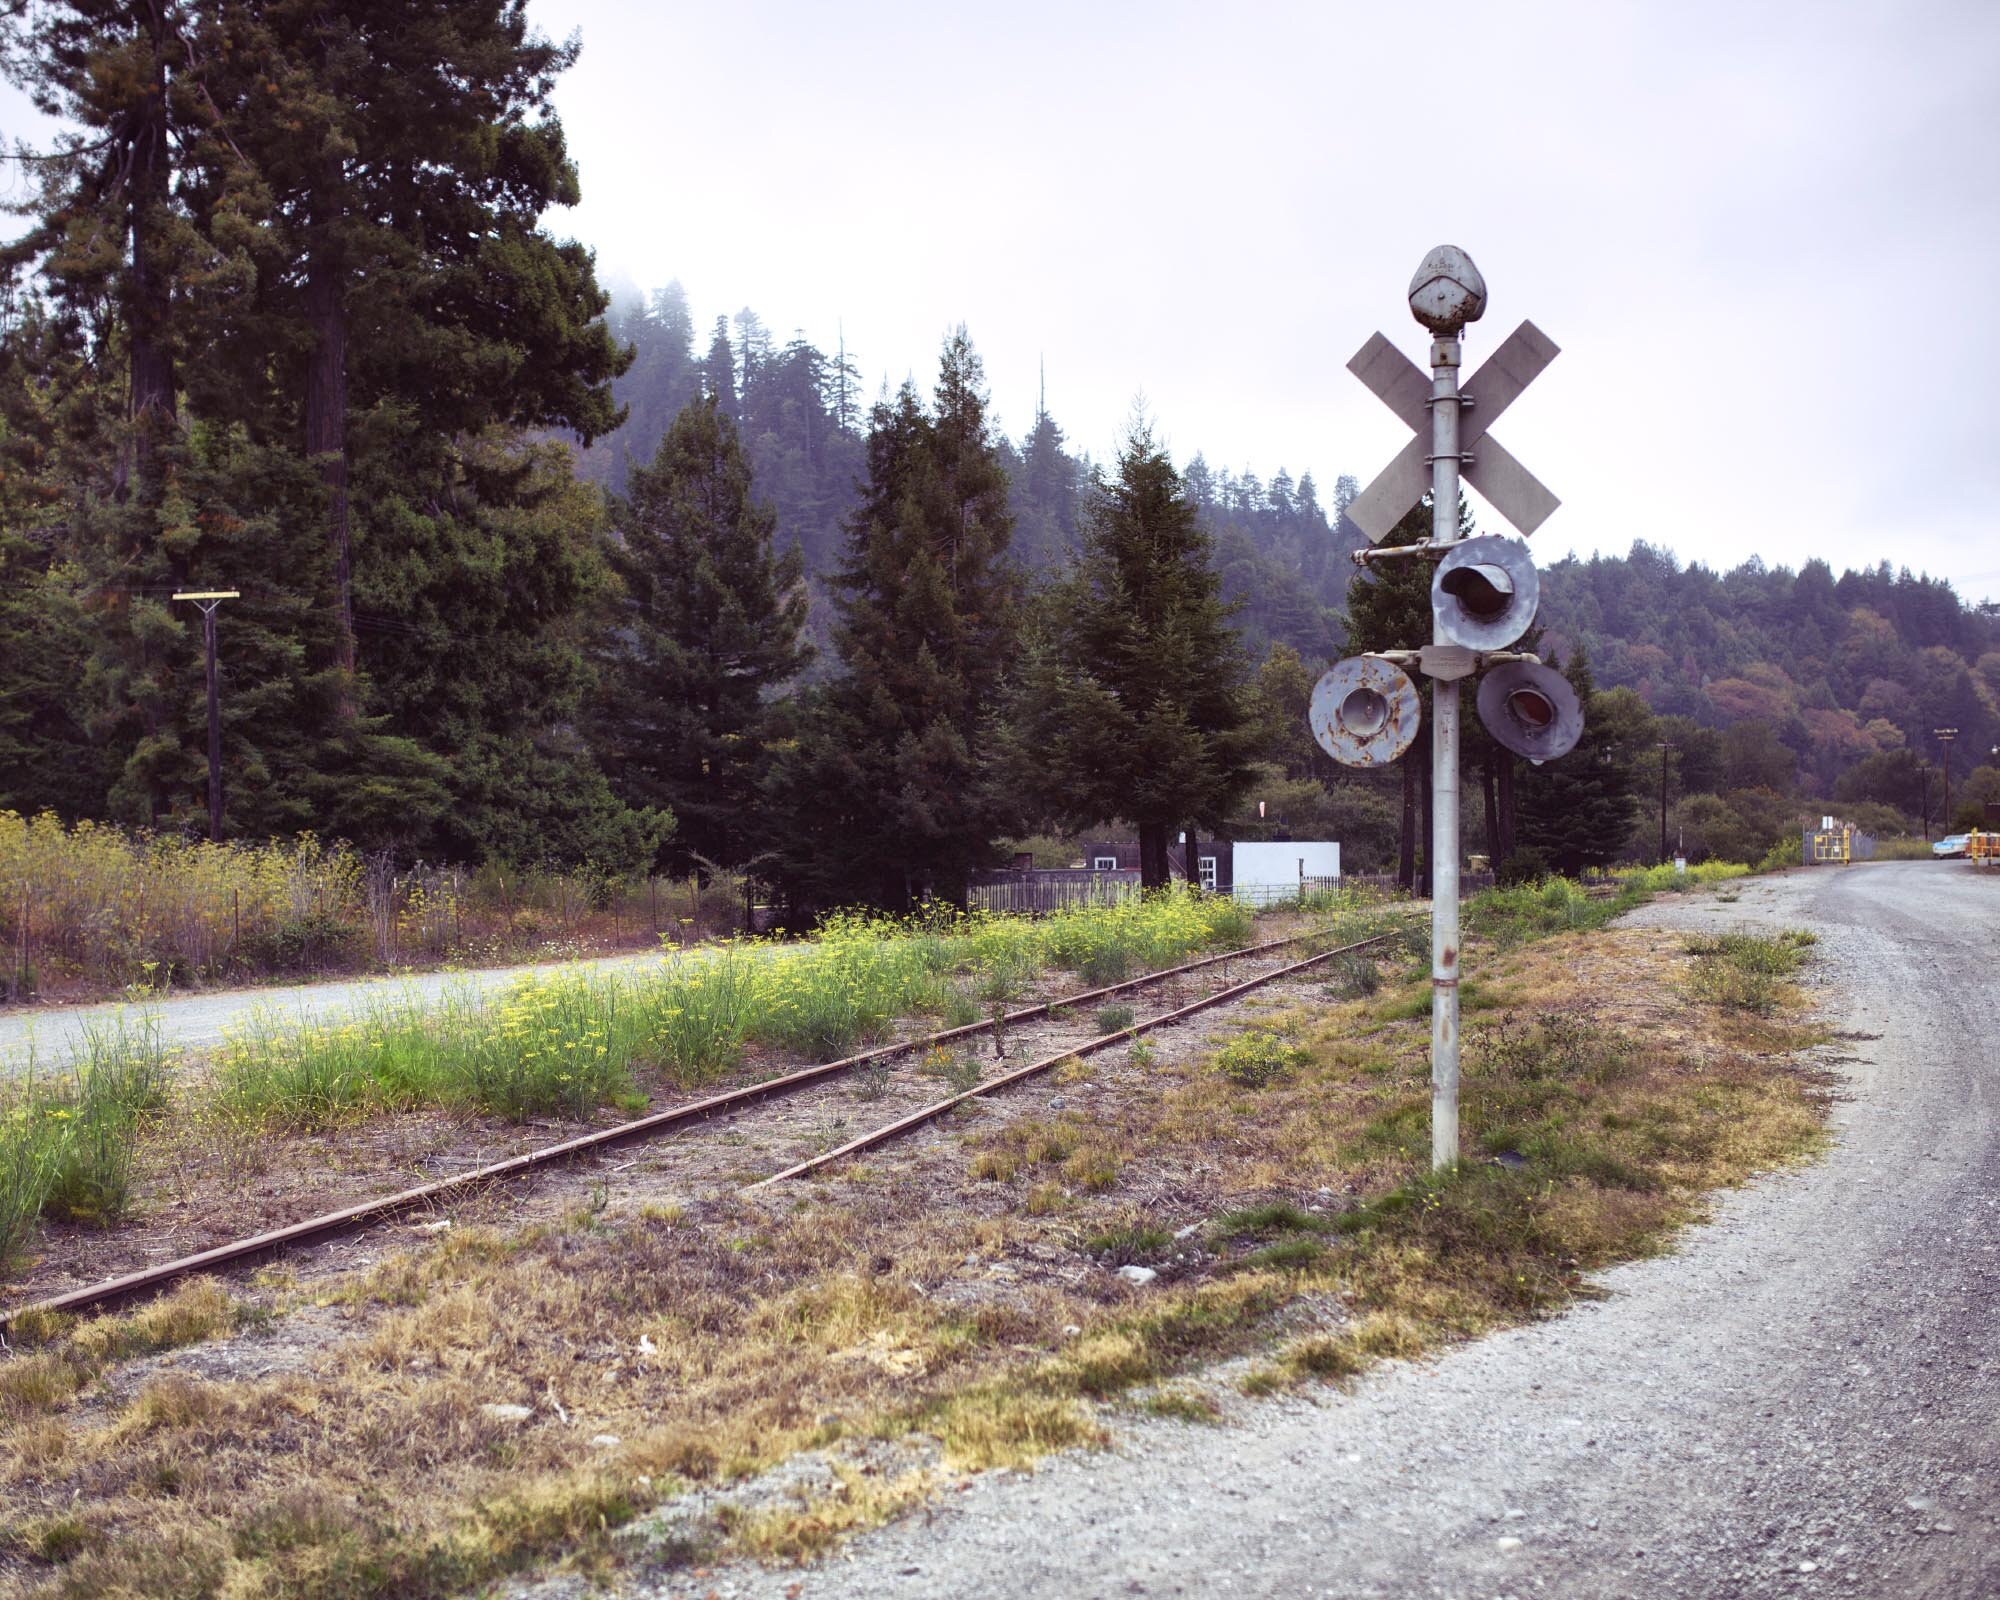
Scotia, California.

Mother in Mosango hospital, DR Congo.
Then again, there are awesome professional travel photographers that only use zoom lenses so what I want to say is; whenever you’re hunting for a camera or lens, you shouldn’t ask yourself: “What is the best lens for street photography?” or “What is the best camera for travel photography?”. You should ask yourself what lens or camera would fit your personal style of shooting pictures. You might be happier with a totally different camera than your friend photographer, even if you practice the same style of photography and techniques.
So, to summarize... There is no right or wrong camera or lens for travel and street photography. The important things to consider are:
1. Your style of shooting
Are you the super snappy fast shooter or do you like to take your time? Do you mind some extra weight or slower focusing? Focusing speed is important if you like to work fast.
2. Purpose of your photos
Do you take photos just to show your friends and family? Then you don't need 50MP and all the fancy bells and whistles. A basic good camera will do. You can even use you mobile if you want.
Do you want to make beautiful large prints? Then you should go for extra megapixels and be sure the camera shoots RAW files. Check reviews if the noise levels for the camera you want aren't through the roof when you shoot in low light.
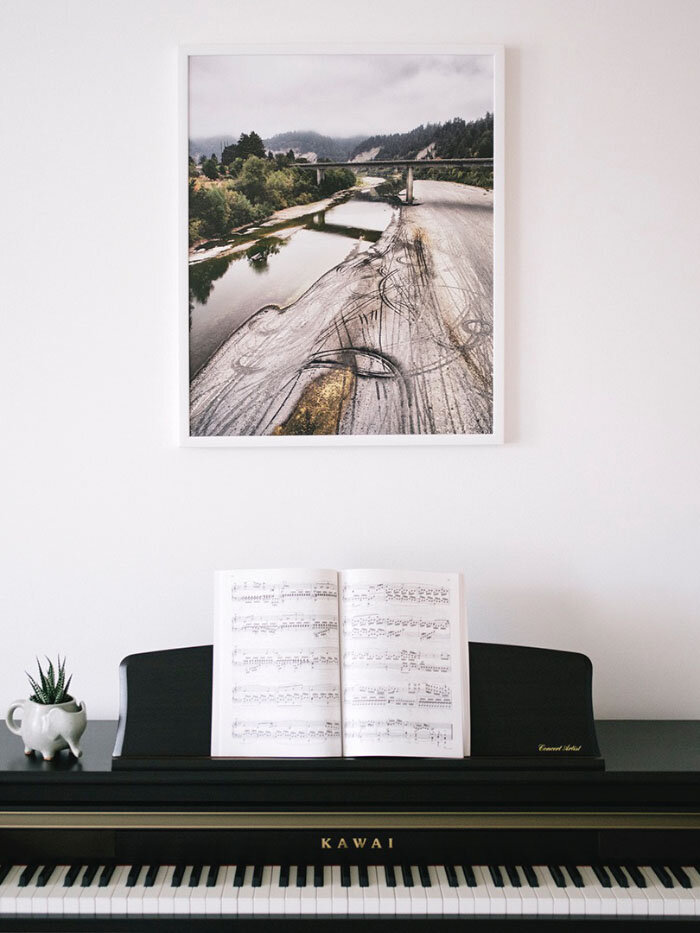
Our favorite print. From my series Behind The Redwood Curtain.
3. Are you happy with the camera and —more importantly— the pictures you make?
I used to wander around on the internet too after buying a new camera. Reading reviews and discussions all the time wondering if the camera I just bought was the right one. I was reading and reading and the one thing I wasn't doing? Right, taking pictures with it.
Well, I'm older (wiser?) now and I learned that research pays off but in the end it's you that has to be satisfied with the results and not the crowds on discussion forums. Do you like the camera you have and the results? Good! That's the one! Don't buy a new one.
3. Where to go
I like to go as far away from tourists as possible. Also in cities I love to get lost and be surprised by the interesting locations or people that are hidden behind every corner and building. You should always try to take public transport because if you take a door to door taxi you'll miss out on all the pictures you could've made on the way.

There were no tourists anywhere near when we were in Kenge, Democratic Republic of Congo.

In Thailand we never took a taxi. By walking and using public transport you'll find interesting scenes everywhere.
Shoot the tourists
Of course, that doesn't mean I never go to places where tourists flock together. I do and when I do I like to include tourists in my pictures. Most people try to take a picture of a landmark or famous place without people but why? Tourists are such an interesting subject and if you include them in you pictures you get a sense of place and you'll trigger an emotion.
Your photos can turn out funny, cynical, majestic or even sad. You can't capture those feelings from just a building or landmark. Your pictures should tell a story and people in your pictures can help you with that!
An important travel photography tip: Include tourists if you have to.
4. When to shoot
You can take pictures at any time. At noon, you can play around with hard dark shadows and in the morning and evening you'll have a beautiful soft light. I prefer that light so even though I'll take picture in the bright sun I'm extra focused in the morning and evening. If you want consistency, in a series for example, then shooting in the same light is a must.
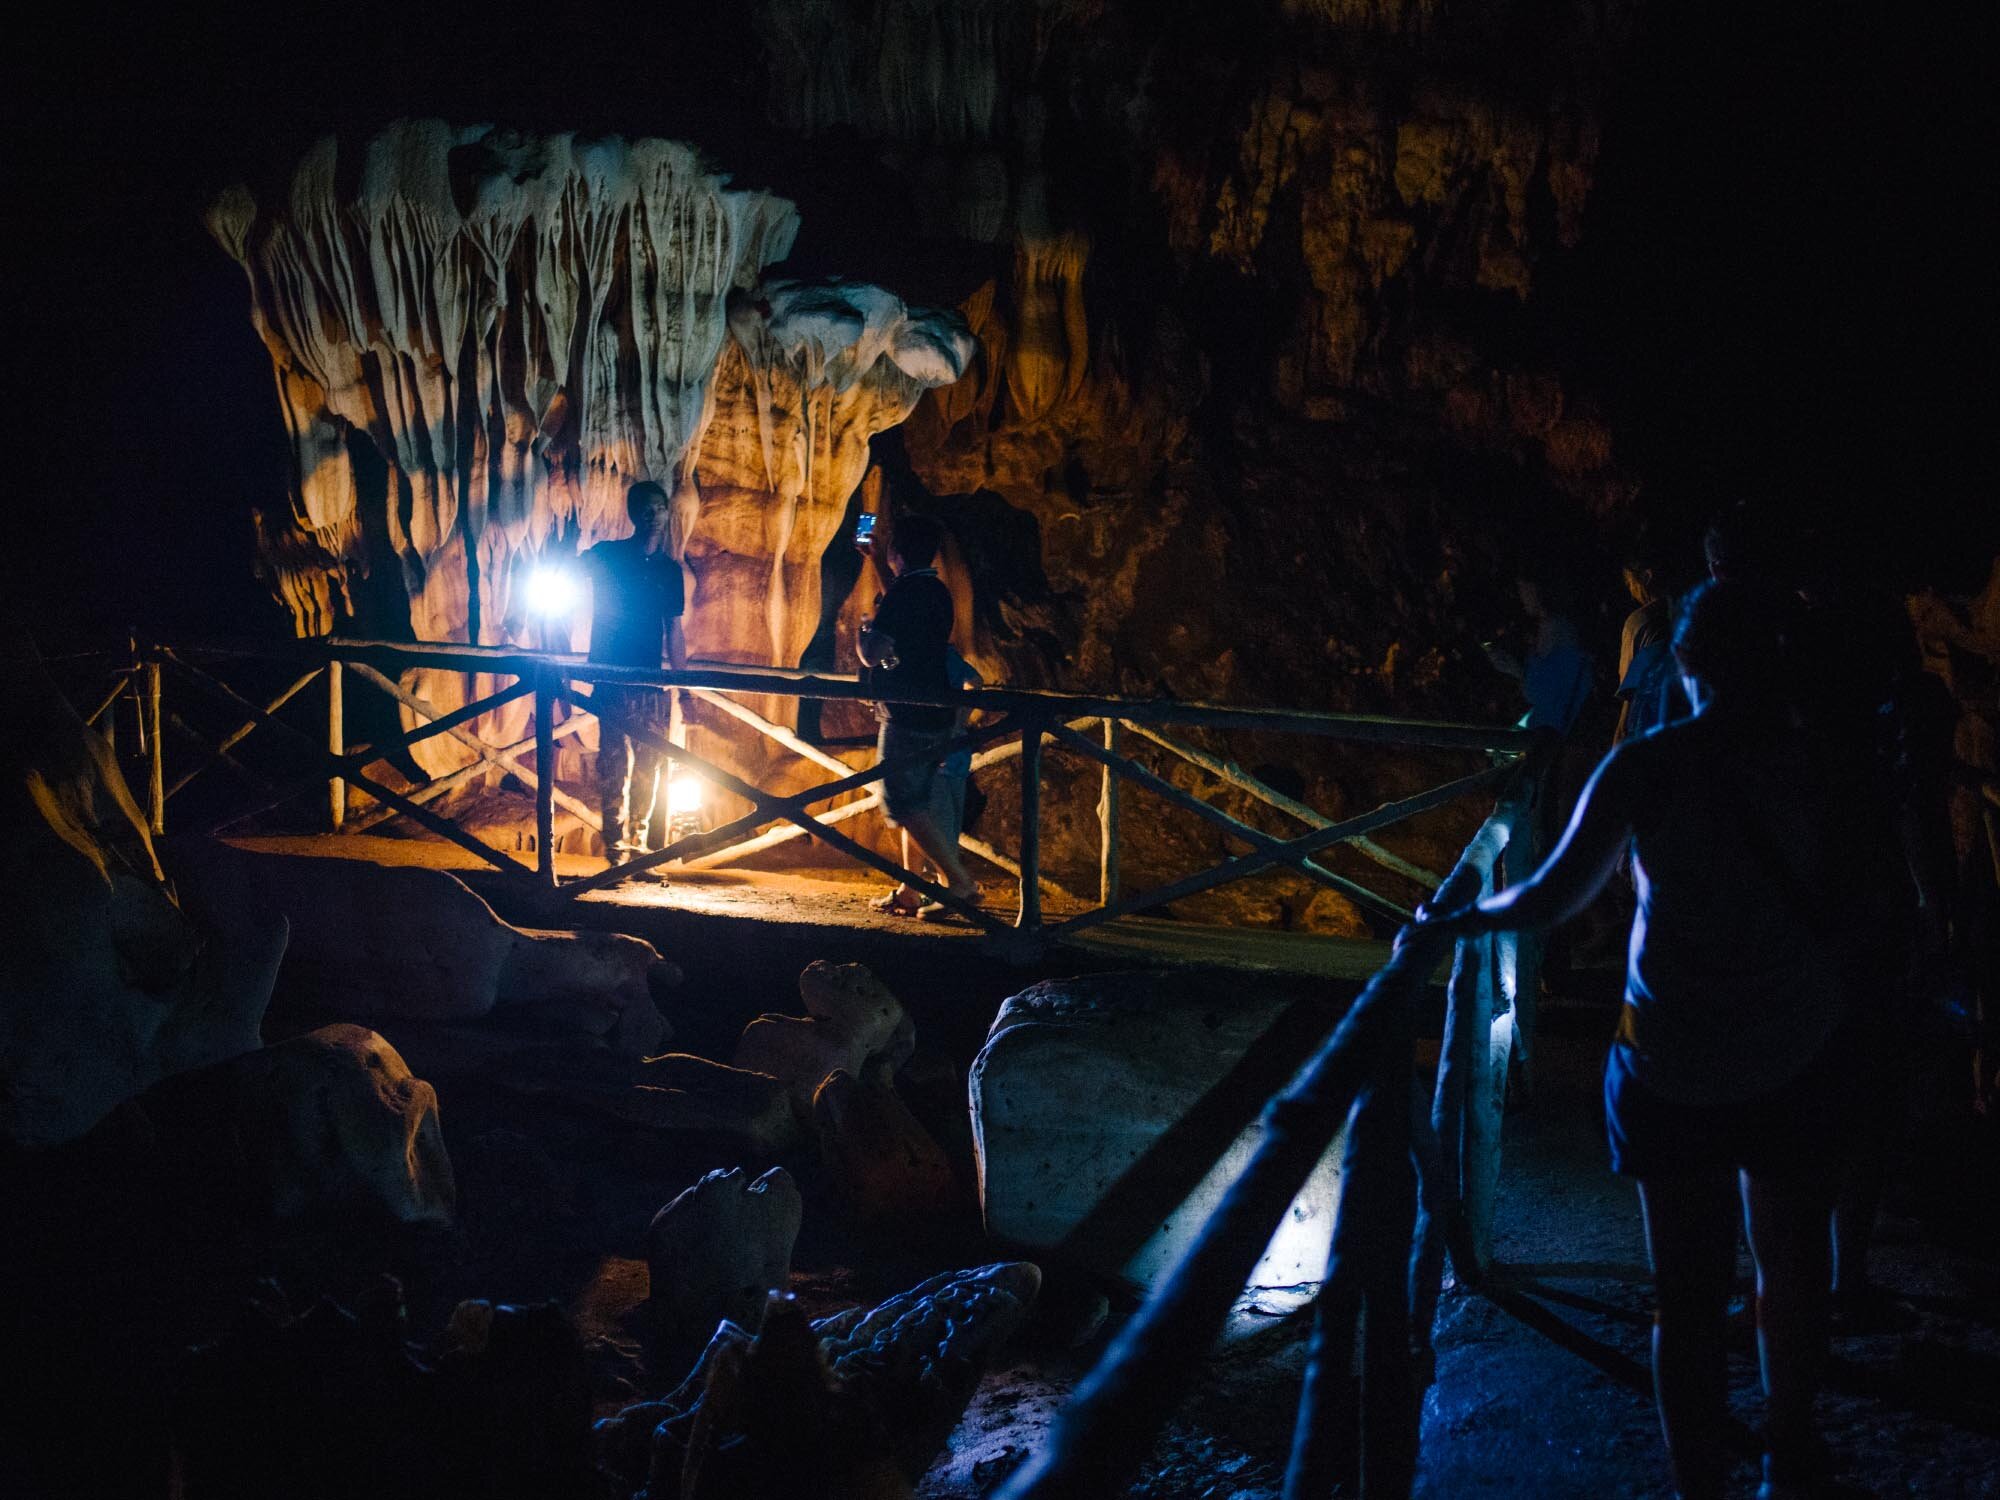
Too dark to take pictures? No way!
When I'm planning a project I try to imagine the atmosphere that the pictures should have and what kind of light is needed to achieve that. For my series Behind The Redwood Curtain for example, I really wanted to capture a sense of melancholy in the pictures because that area in California gave me that feeling. I decided to shoot only in the foggy mornings which the area is so famous for. That gave me a beautiful soft light and the atmosphere I was looking for.
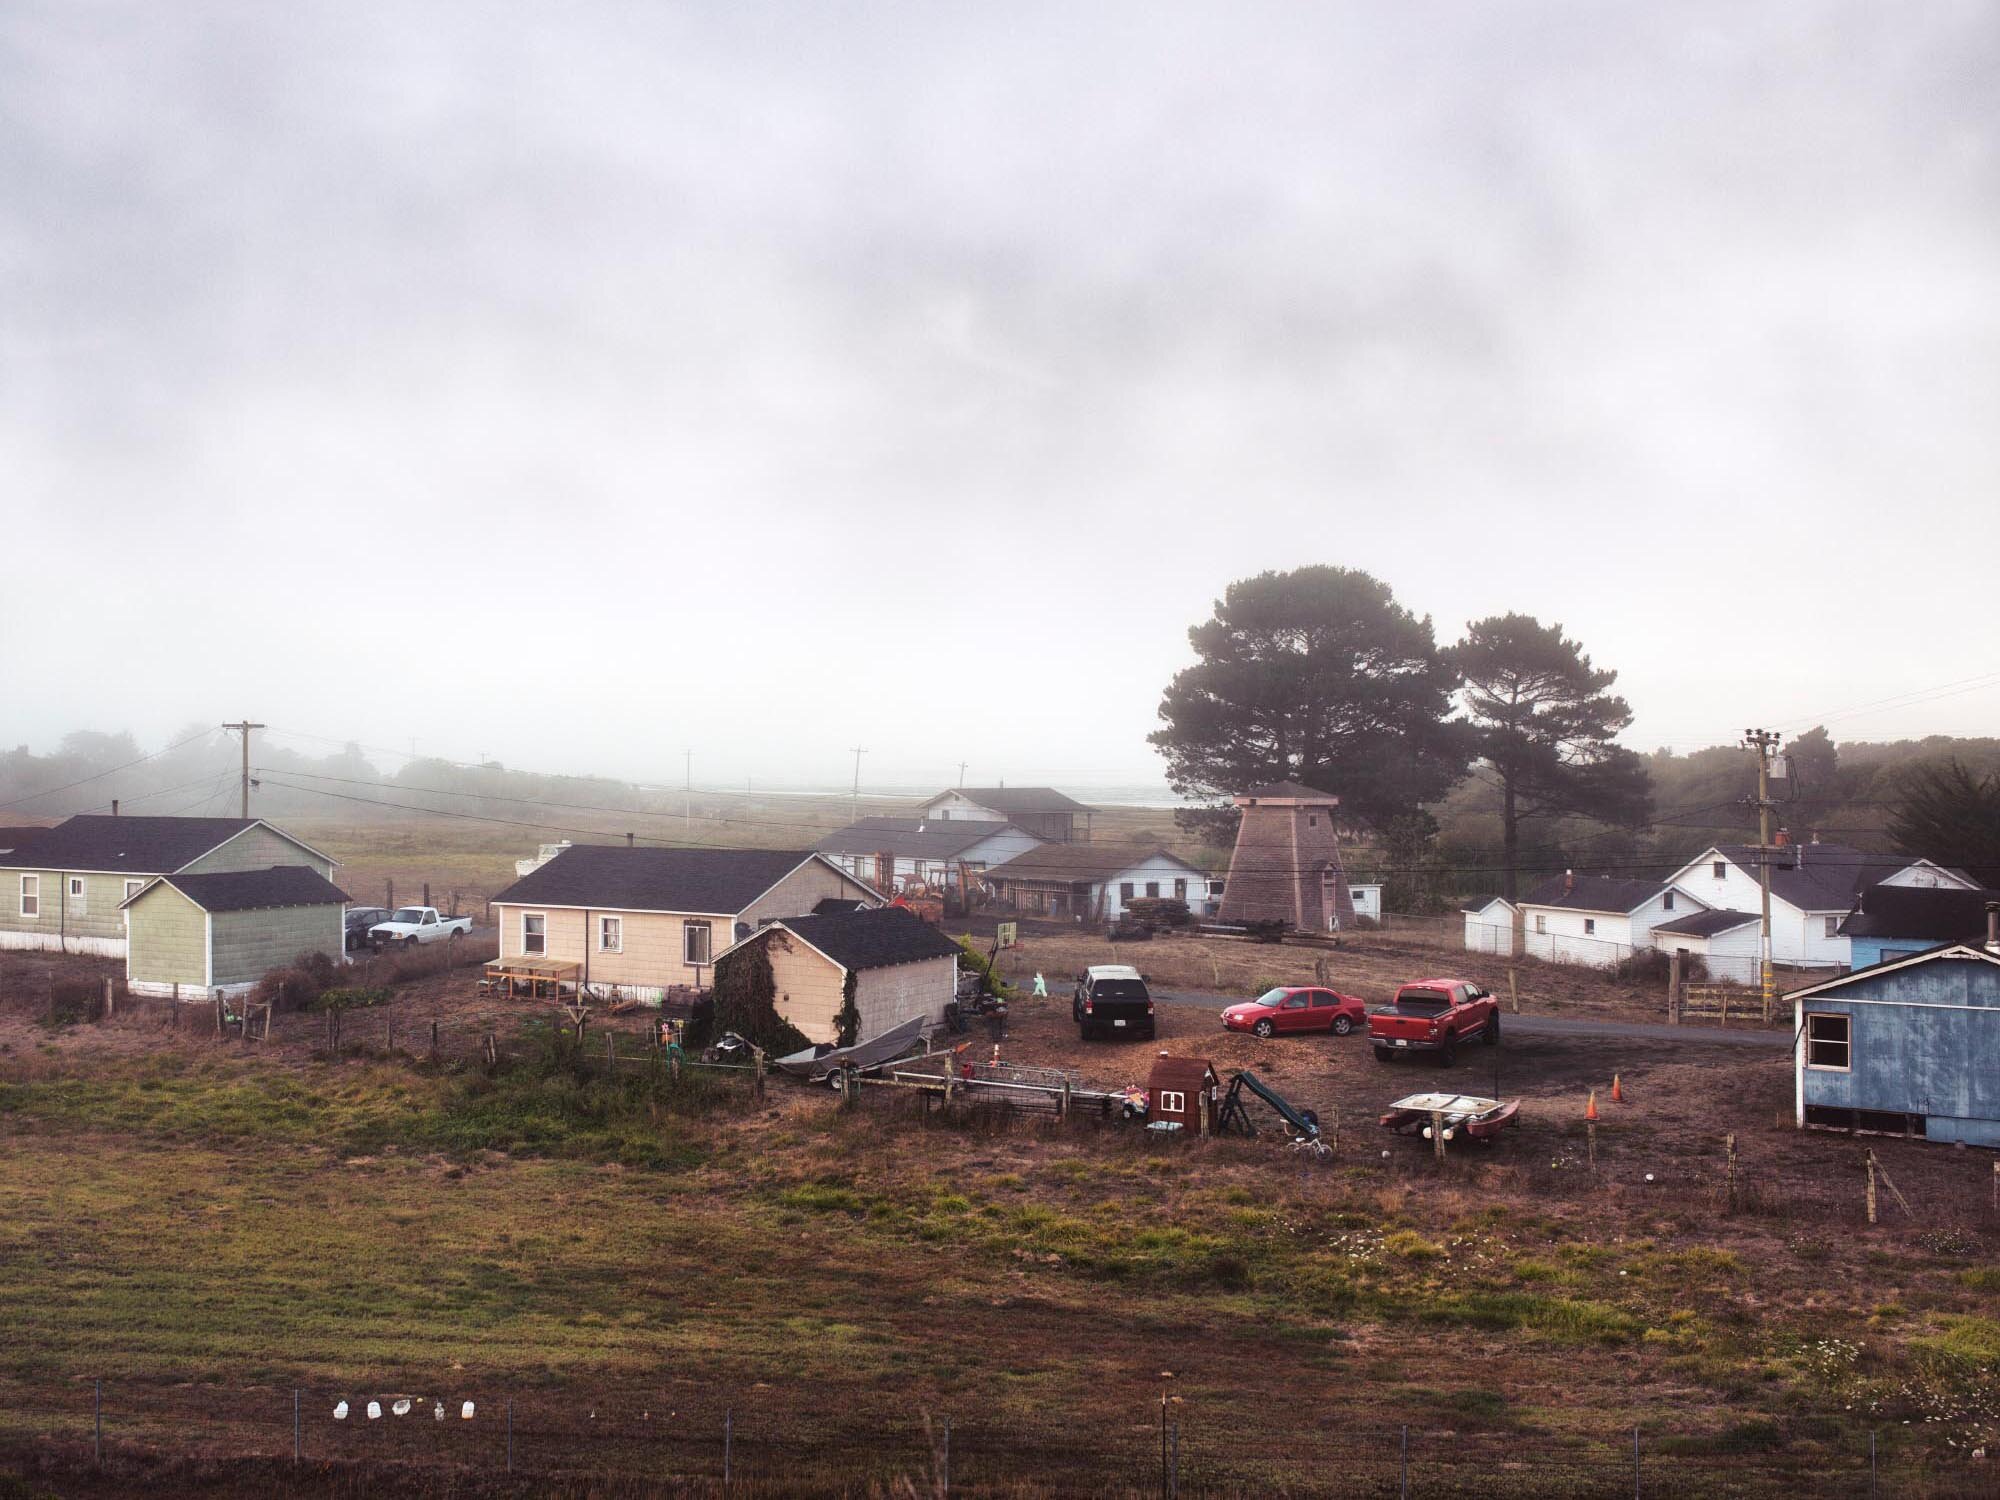
Foggy morning in Samoa, California.

Bright sun at noon. A nun in Mosango hospital, Democratic Republic of Congo.
In the two pictures above you can see and feel the huge difference in light and atmosphere. The left one was shot on a cloudy and foggy morning. The right photo on a bright sunny afternoon. If you're going for something specific then you should really think about when you're going to get that perfect light and go out at those times.
5. People and Portrait Photography
Portraits are important and anyone who writes travel photography tips should include something about taking pictures of people. I know that some just focus on landscape photography but the people make the country too, right?
I don't like candid portraits or portraits that are shot from far away. If I want to take a photo of a person I start to talk to them first. It will make the question to make a portrait of them less invasive and this will also make it possible for you to add their story to the photo.
A portrait will have more depth and will be more interesting for the viewer when there's a story behind it. That will add context and you'll be amazed with all the interesting stories you'll hear while traveling around.

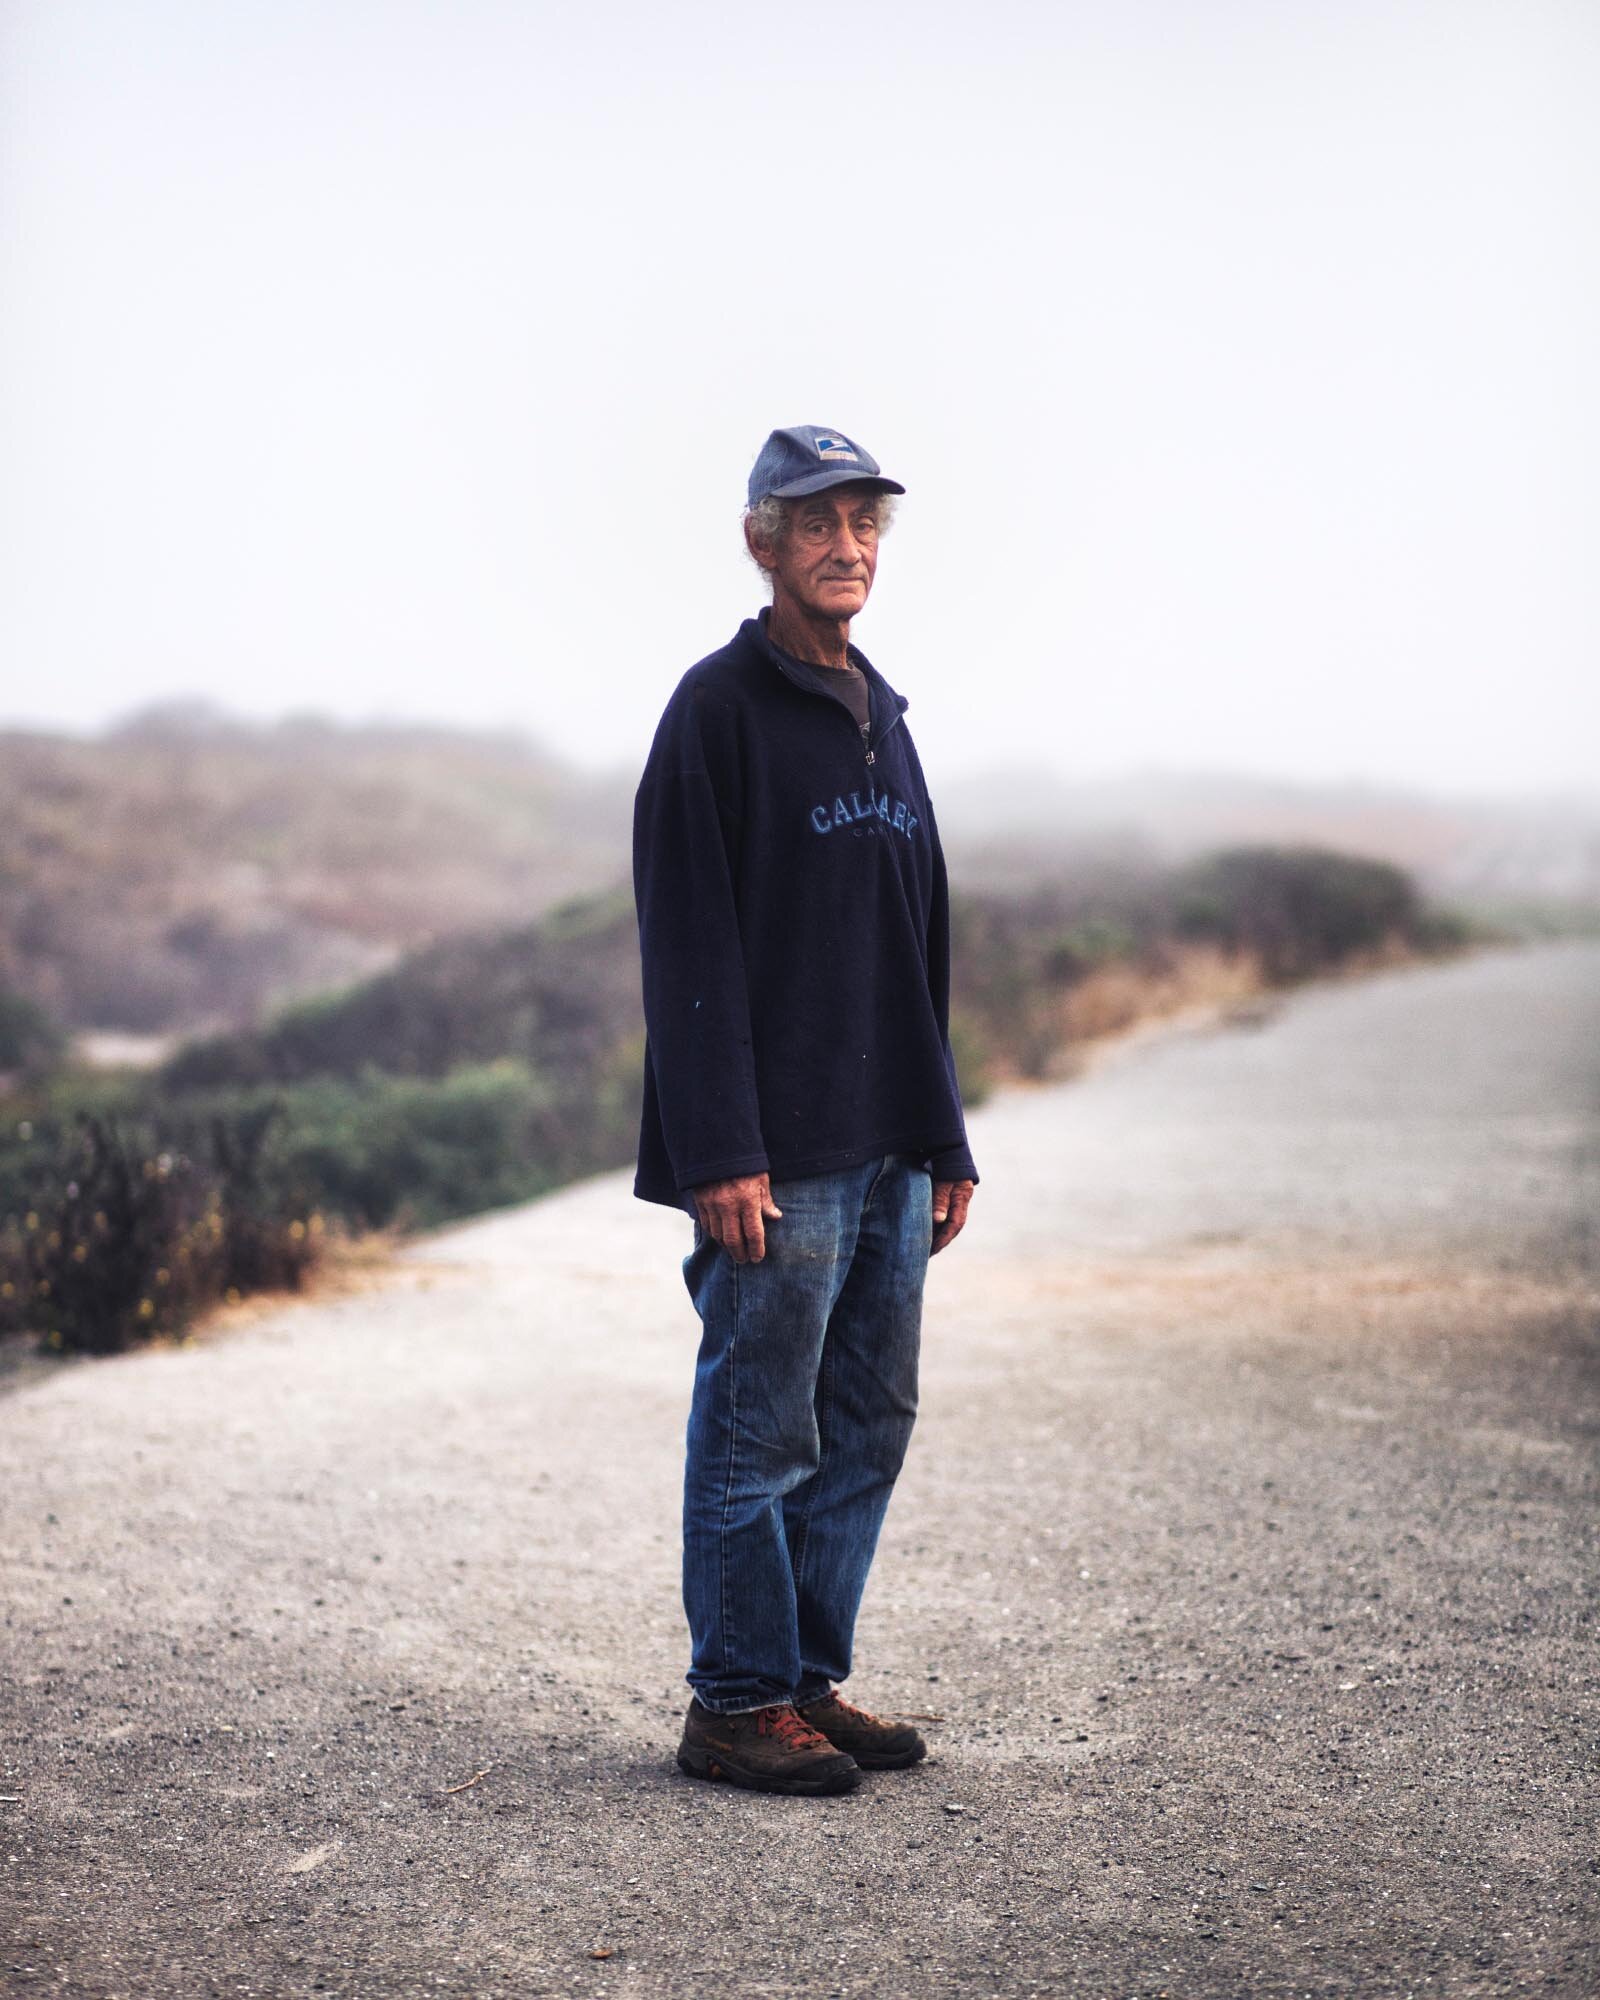
I was happy to learn that this guy, who was working at a gas station in California, was stationed in Germany when he was in the army.
Take your time to set up the portrait and don't be afraid to tell someone to move if that would make a better portrait. Be aware of the light and the background and preferably go for a large aperture. I hardly ever go over f/2.8 for portraits to keep a nice and shallow depth of field.
I asked the guy above to move from where he was smoking in the sun to a shady corner with a white background... That really made his red cap and shirt shine!
Close or far?
Depends on what you want and like, of course, but I do like portraits where you can see the person from top to bottom with a nice background to have a sense of place. For me, the shoes someone wears tell just as much about them as their face or sweater. Of course, when someone has a very specific face or a detail you want to show, a close portrait is better.
As you can see; I love to shoot in soft light. The photo on the left with a 55mm and the one on the right with a 85mm lens.
I take around five minutes between asking for a picture and shooting the picture. Just talk to your subject when you set up the shot and make them feel comfortable. Every photographer should be aware of how awkward it is for most people to stand in front of the lens.
6. Make a story
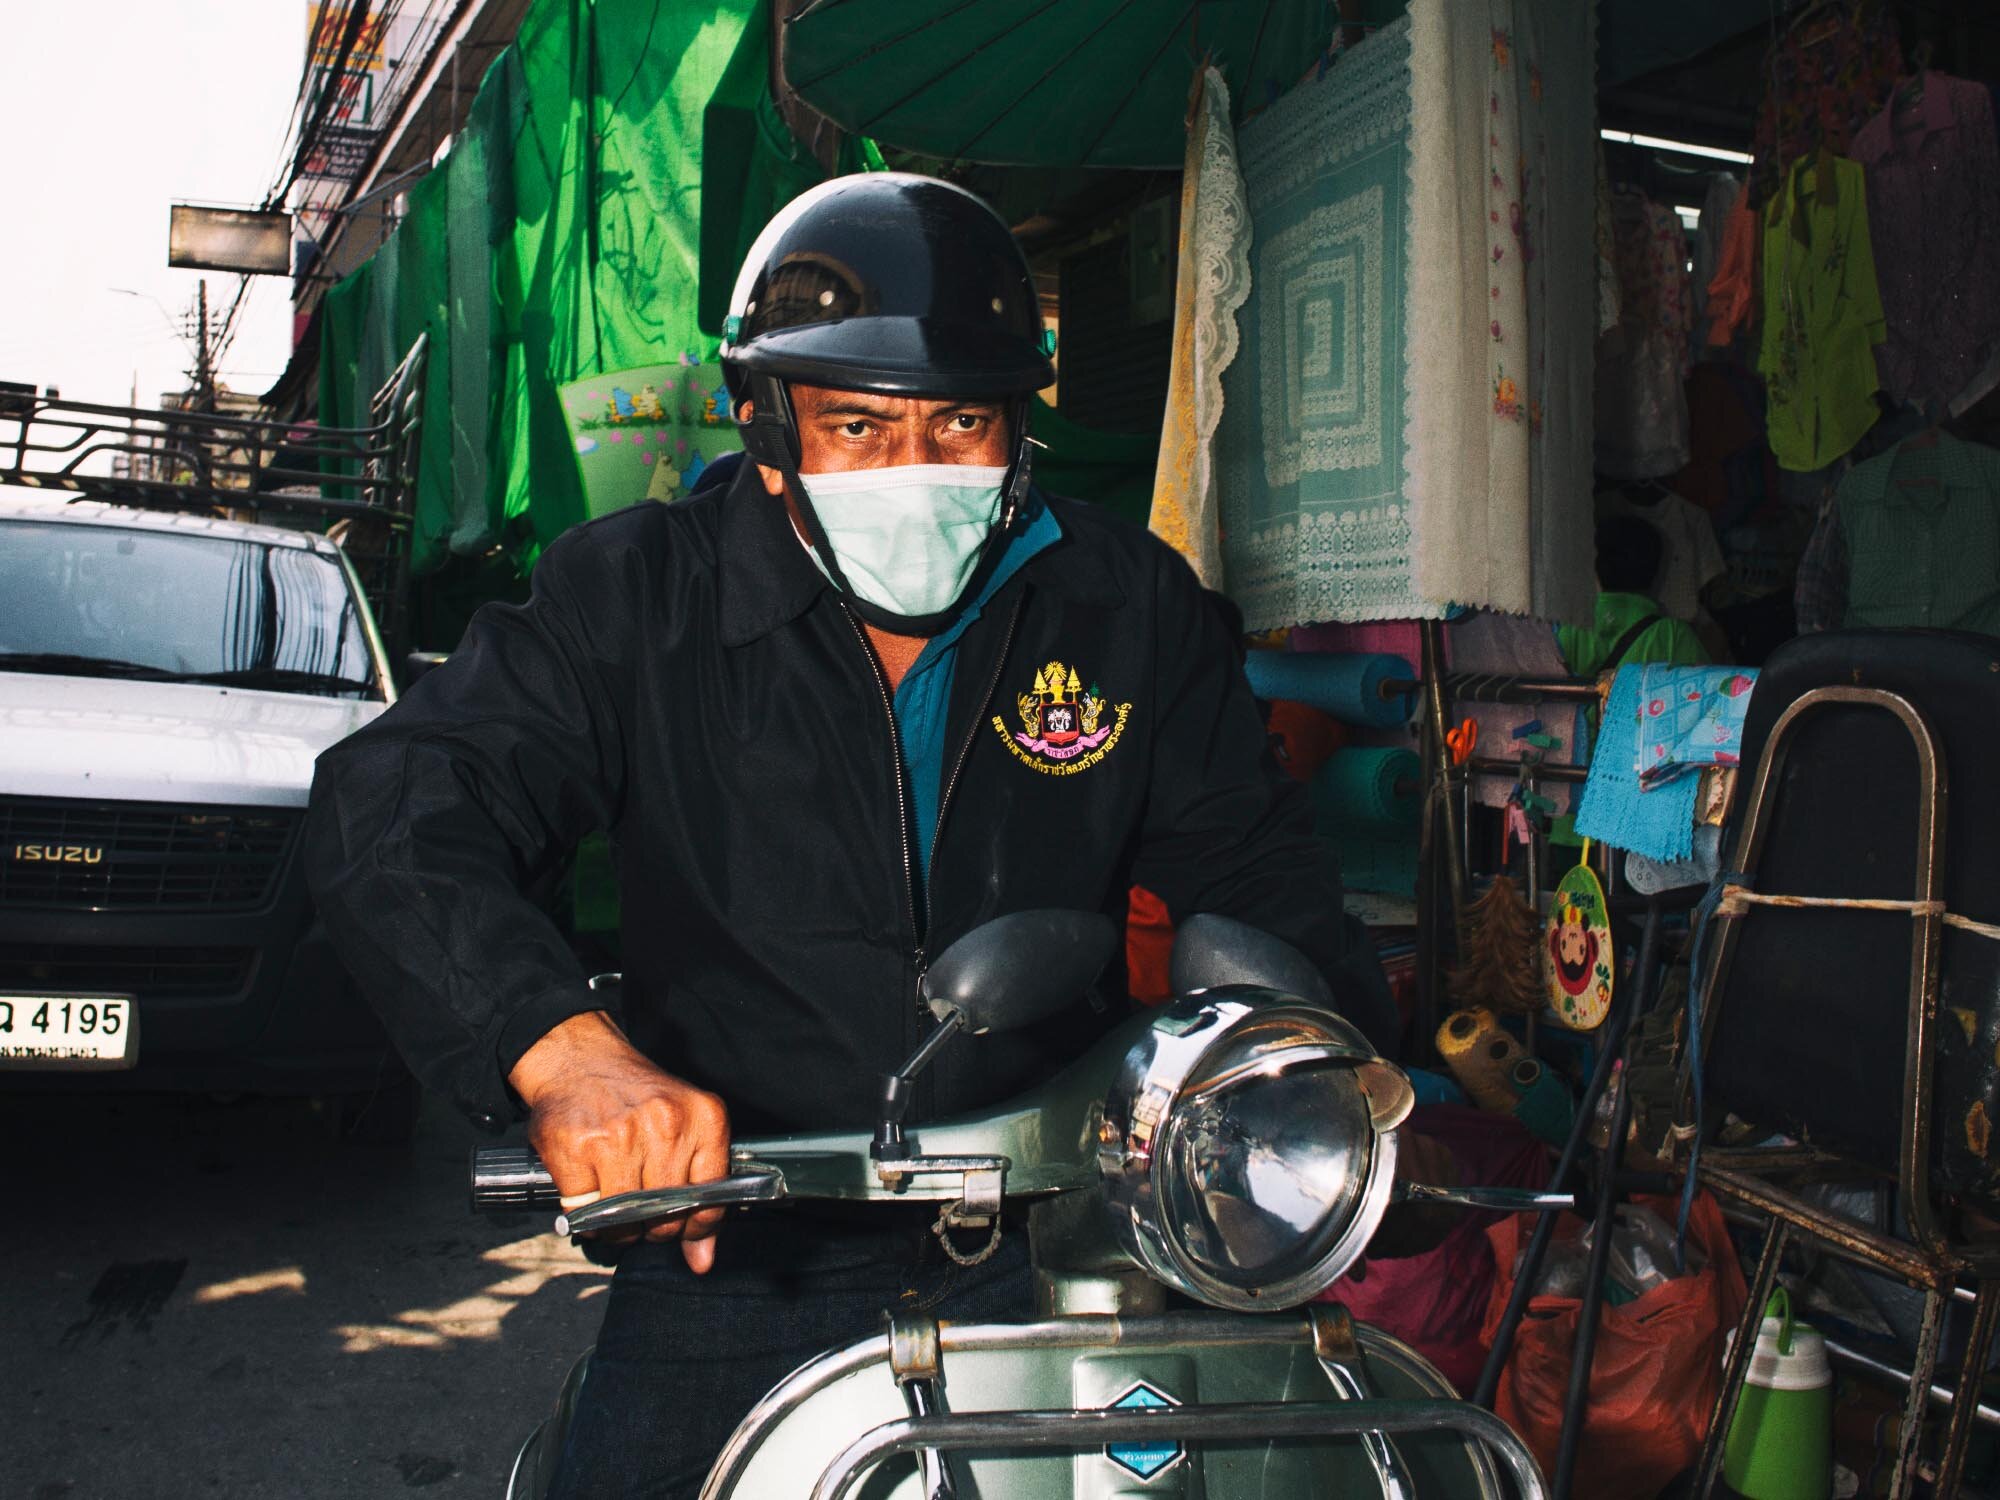
If you want to challenge yourself on your next trip then try to make a story or series. Aside from the pictures to show your family, try to focus on one aspect of your trip or the city or country you're in. Expand your travel photography and don't just stick to what everyone else does. This will also force you to take your camera everywhere you go because you don't want to miss that one picture that will make the series awesome, right? Professional travel photography above all means dedication!
A few years ago, I made a series about the motorcycles and their owners in Bangkok. It was just a short-term photography project but it was a lot of fun and I got to know a lot of new things about the city.
7. Post Process
Professional travel photographers who tell you that you shouldn't post process are stupid or not photographers at all. No, seriously. Of course you have to post process. The problem is that everybody uses the same travel photography techniques and filters these days. Don’t overdo it. At least go over the basics like contrast, color, highlights and shadows. I really hate those crazy HDR pictures that look like a painting from some surrealist painter.
Most modern cameras take great pictures just like that but what I like to do sometimes, besides the basics, is to add a little extra. For example, to make the contrast and colors match the feeling and atmosphere you captured or imagined. There's nothing wrong with that.
A little extra contrast and rough coloring.
I've always preferred Photoshop over Lightroom because I’m used to it and I feel like I have more control over what I’m doing. It figures that I always shoot in RAW so I can have a clean large file and all the information I need to start with.
Conclusion
Want to learn more…?
My personal travel photography techniques are no secret but they only work well for my style. If you're still reading I'll repeat it again: The most important thing is to find out what your personal style is. It will be a lot easier to make the right choice when you want to buy gear or when you're leaving for your next trip.
Second. Question all photography tips & advice you ever read and don't get too obsessed by what others say or what you read on the internet. Not everything is black & white in photography. Are you happy with the results you get now? Good!
Do you want to know how to improve your travel photography techniques or set the bar even higher and become a professional travel photographer? Even better but no one owns the absolute truth on making pictures... most of it is just honest personal advice.
Let me know what you think in the comments!


You might also like...


Quisque iaculis facilisis lacinia. Mauris euismod pellentesque tellus sit amet mollis.