Create an Epic Film Look Preset in Lightroom Mobile
Film look presets for Lightroom Mobile are super popular but there’s a reason for that. Film just looks great. Now, if you want your photos to look exactly like film, then just shoot film because it’s almost impossible to duplicate the look–especially in Lightroom Mobile. But you can create your own presets and film looks in Lightroom mobile. It’s super easy to edit your photos in LR Mobile and once your finished, just create a preset. Simple as that!
Check out all my Photoshop and Lightroom presets here!
In this video, I show you how I edit my photos in Lightroom Mobile when I want that cool film look. Again, it’s not the same thing but you can definitely get the same vibe and once finished, just save it as a preset and done!
Create Your Film Look Preset in Lightroom Mobile
There are a few things you need to pay attention to if you want to create a simple but epic film look. Often film crushes and fades the blacks and shadows but the tonal transitions of highlights are nice and gradual. This is something you can achieve by editing with the tone curves. The tone curves are a very important tool in Lightroom but also Lightroom Mobile.
The colors also look a bit different. Blues look more like aqua or cyan and skin tones often have a warmer feel to them. Overall, film also looks less sharp compared to a digital photo. In short, creating a film look preset in Lightroom Mobile is a combination of a lot of different adjustments and it will take a long long time to get it right but you can create something that has the same atmosphere as film in just a few simple steps.
In the video, I go over these steps:
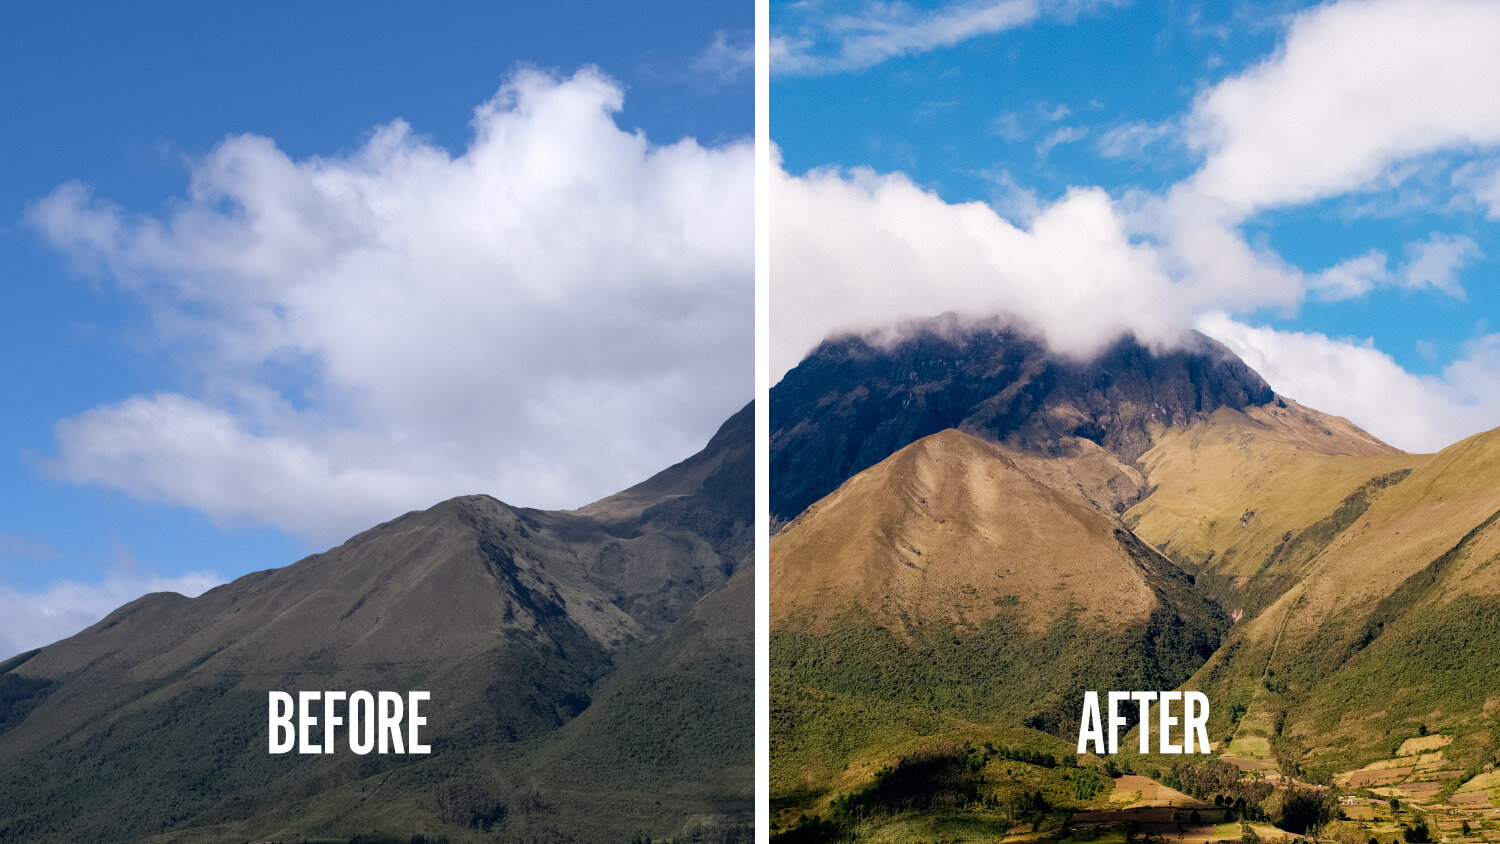
1. Make the image warmer
When editing landscapes, like my example, you can really go wild here. If you want to edit a portrait, be more careful because you don’t want people to look green or yellow.
2. Lift the blacks in the tone curves
Makes the overall photo look a little bit softer and more organic.
3. Separate tone curves
This is where you are actually color grading with the tone curves in Lightroom Mobile. The possibilities here are endless
4. HSL adjustments
Tweak the colors to make them look more like film. Especially blues and yellows.
5. Add grain and soften up the image a little.
And those are the steps in Lightroom Mobile if I want a film look. I hope you like it, let me know in the comments!